← All posts·By Jason Donovan·
Most missed safari photographs are not about the lens. They are about a shutter speed that was too slow, autofocus that locked on the grass in front of the animal, or a dark buffalo that came out as a grey shape against a white sky.
These are the settings I start from on a game drive in Akagera National Park. They are a starting point, not a rule, and on tour we adjust them together as the light and the animals change.
A setting for most sightings
Use manual mode with auto ISO, or shutter priority. Set the shutter speed to 1/1,000 second and the aperture to between f/5.6 and f/8, and let the camera choose the ISO. Set a maximum ISO your camera handles well: for many modern cameras that is 6,400 or higher.
This freezes an animal walking towards you, gives enough depth of field to keep a whole head sharp, and adapts automatically as the light changes from open grassland to woodland shade. Shoot in RAW so you can recover highlights and shadows later.
Shutter speeds by situation
Faster is safer when you are unsure. A little noise is easy to deal with; motion blur is not.
| Situation | Shutter speed | Notes |
|---|---|---|
| Animal resting, vehicle engine off | 1/250–1/500 s | Stabilisation on, lens on a beanbag |
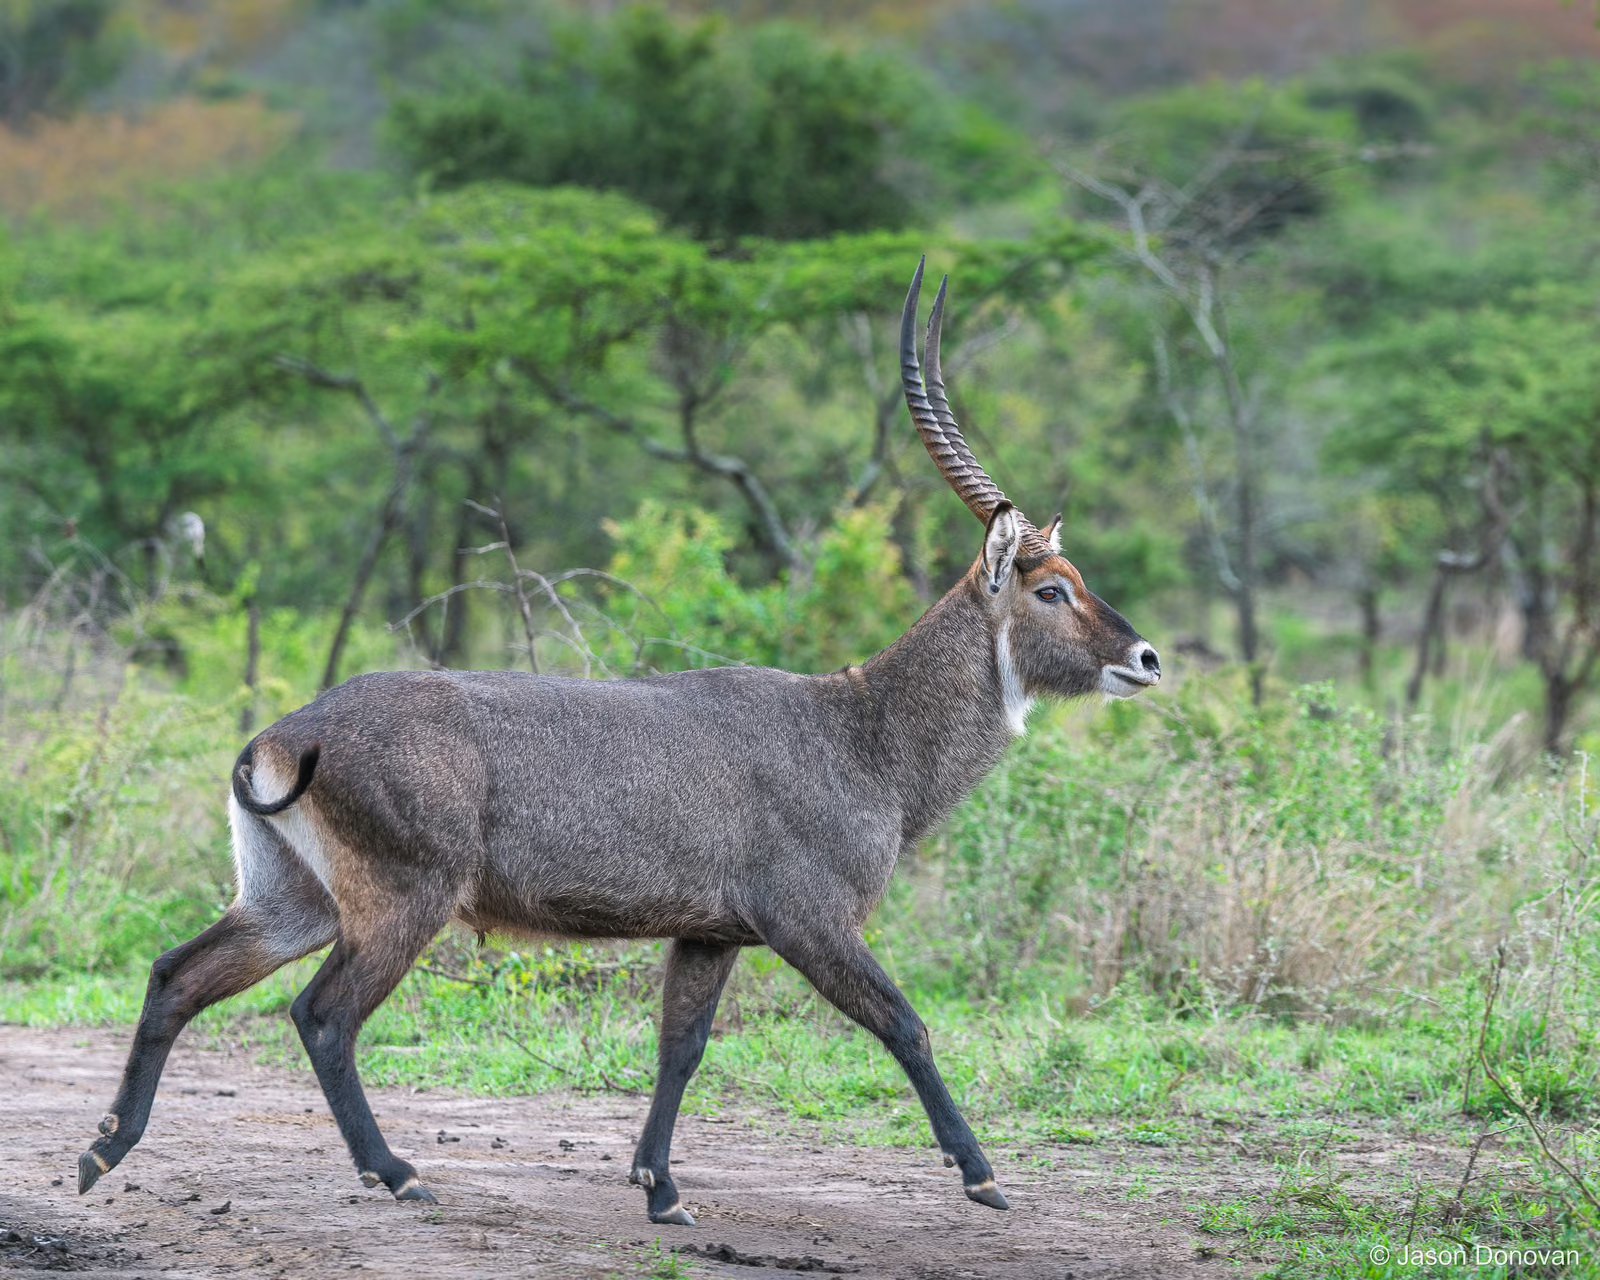
| Animal walking | 1/1,000 s | The default for most sightings |
| Animal running or fighting | 1/2,000 s or faster | Burst mode, continuous autofocus |
| Birds in flight | 1/2,500–1/3,200 s | Most wings freeze from about 1/2,500 s |
| From the boat on Lake Ihema | 1/1,000 s or faster | Allows for the boat's movement |
| Panning a moving animal | 1/30–1/60 s | Deliberate motion blur; expect many misses |
Autofocus
Use continuous autofocus (AF-C or AI Servo) all the time on safari, even for animals that are standing still; they rarely stay still for long. If your camera has animal or eye detection, turn it on. It makes a real difference on safari.
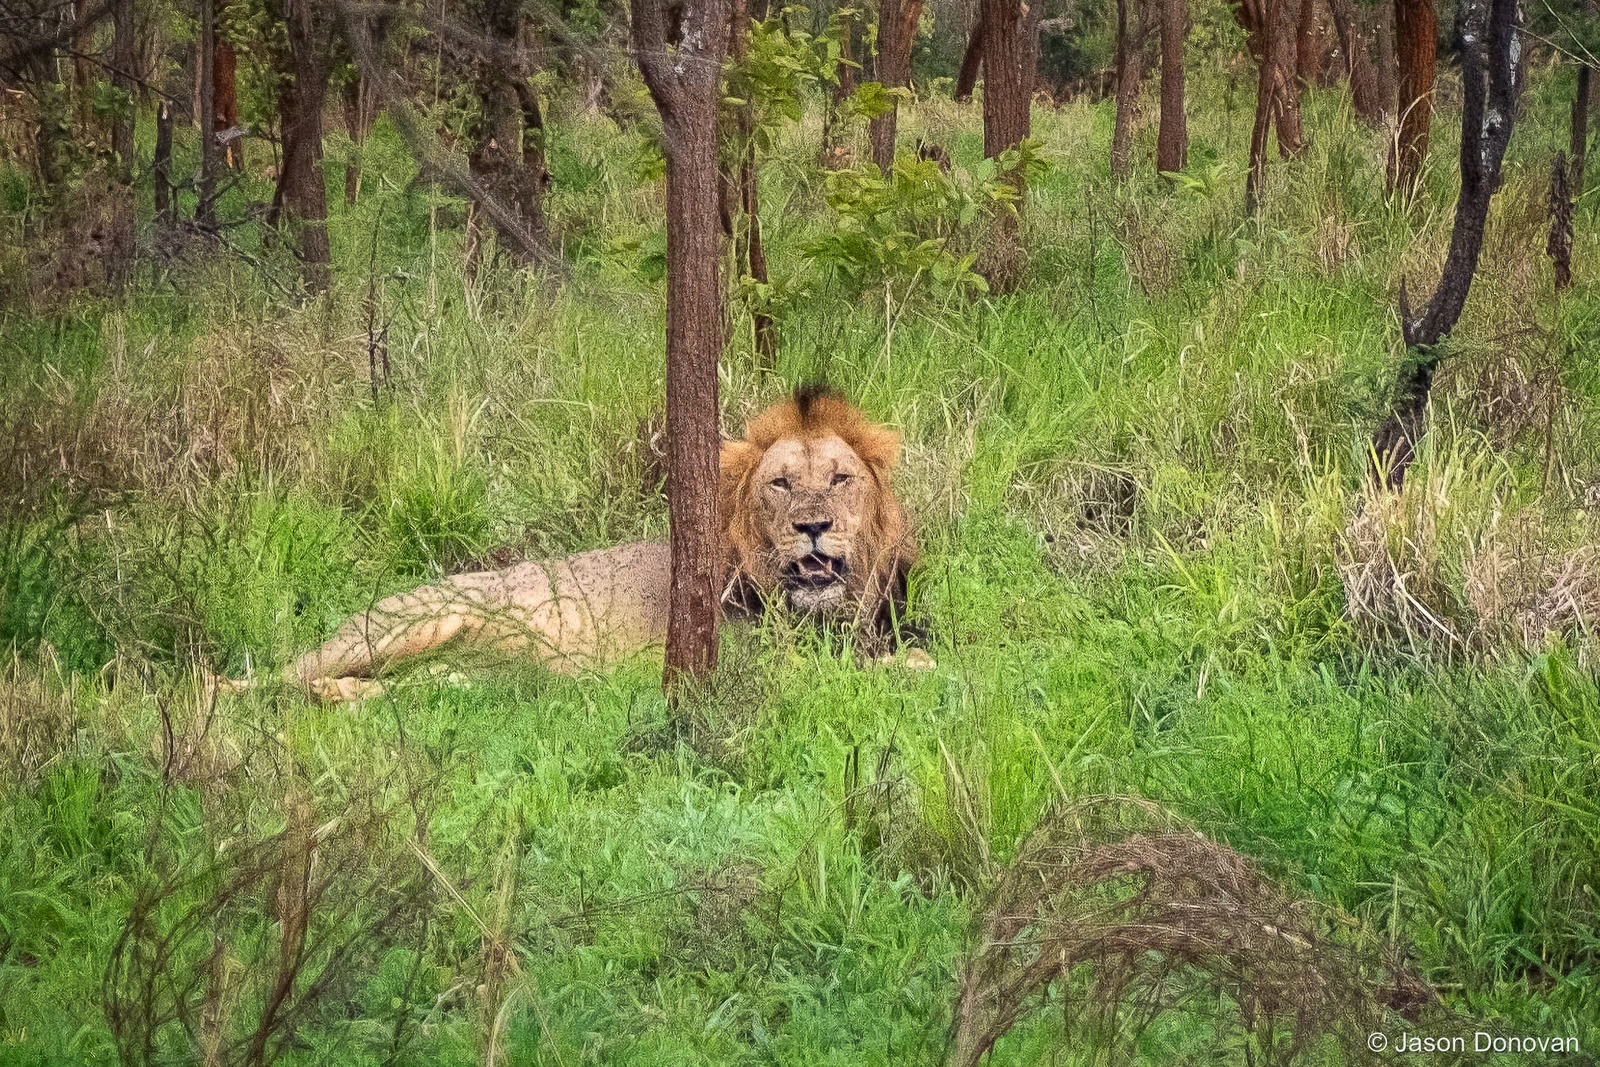
When an animal is behind grass or branches, switch to a single small focus point and place it on the eye, or the camera will focus on whatever is nearest. Many photographers set focus to a button on the back of the camera so the shutter button only takes the picture. It takes a day to get used to and is worth it.
Exposure: dark animals, bright skies
Cameras try to make everything a mid-tone. A black buffalo or a wet hippo filling the frame fools the meter into brightening the picture, so dial in about -0.7 of exposure compensation to keep it dark and detailed. An animal against a bright sky does the opposite; add +1 or more, or the animal turns into a silhouette.
Turn on the highlight warning (the flashing 'blinkies') and check it after the first frames of each sighting. Light-coloured animals in strong sun, such as a white egret on a buffalo's back, are the most likely to lose detail.
The light near the equator
Rwanda is close to the equator, so the sun rises and sets at about 6:00 all year and climbs quickly. The soft light lasts a shorter time than in Europe or North America: roughly 6:30 to 8:00 in the morning and 4:30 to 6:00 in the afternoon. That is why our game drives start as the park opens and stay out until sunset.
In the middle of the day, look for animals in shade, go in close for detail and texture, or use the time to review your photographs.
Before you travel
Practise these settings at home on anything that moves: dogs, birds in the garden, traffic. Update your camera firmware, learn how to change the focus point without looking, and bring enough memory cards and a backup drive: at least 512GB of storage is a good guide. On tour I go through settings with you on the first drive, and we review photographs together in the evenings if you would like to.
Learn on safari
Every Raw Africa tour includes photography guidance in the field. Tell me your level and what you want to improve.